How to Install Your Peel-and-Stick Wallpaper
Installing peel-and-stick wallpaper is both an art and a craft. With focus, care, and the right technique, you can transform your walls and create a designer finish at home. This step-by-step guide will help you master the process with ease and confidence.
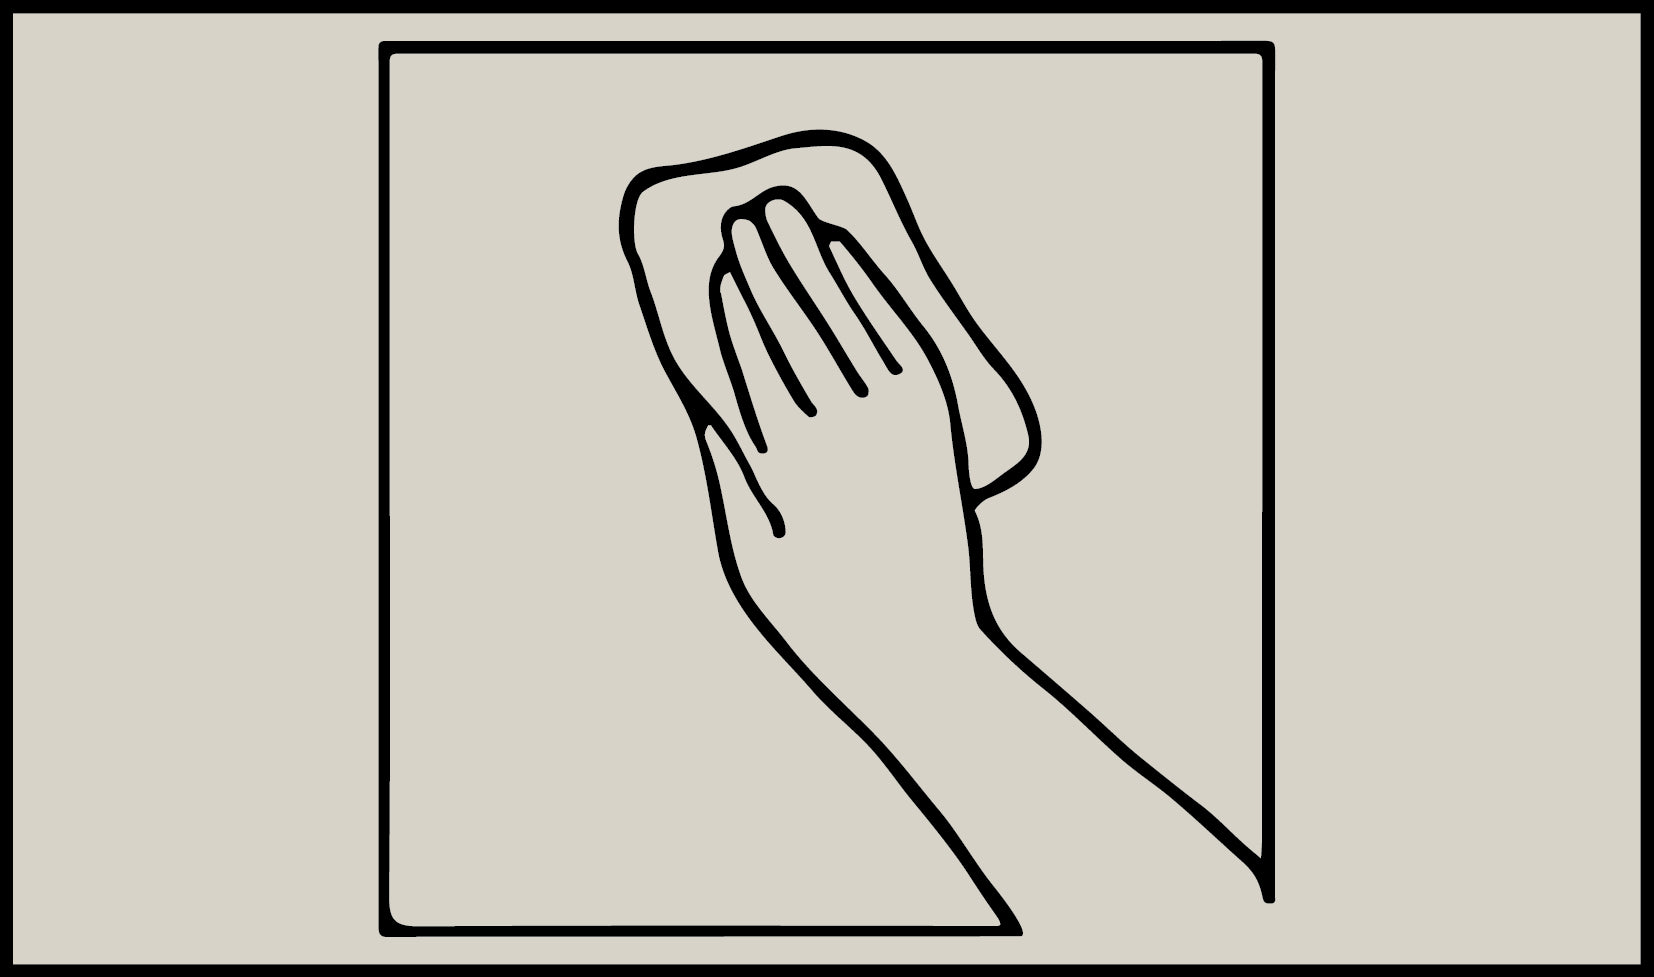
Step 1: Prepare the Wall
Begin by giving your wall the respect it deserves: it should be clean, dry, and absolutely smooth — the perfect foundation for your removable wallpaper.
- If your wall has been freshly painted, allow it ample time to cure.
- Let your wallpaper rolls rest in the room for 24 hours so they can acclimate and lie perfectly flat.
This thoughtful preparation ensures a seamless, long-lasting installation
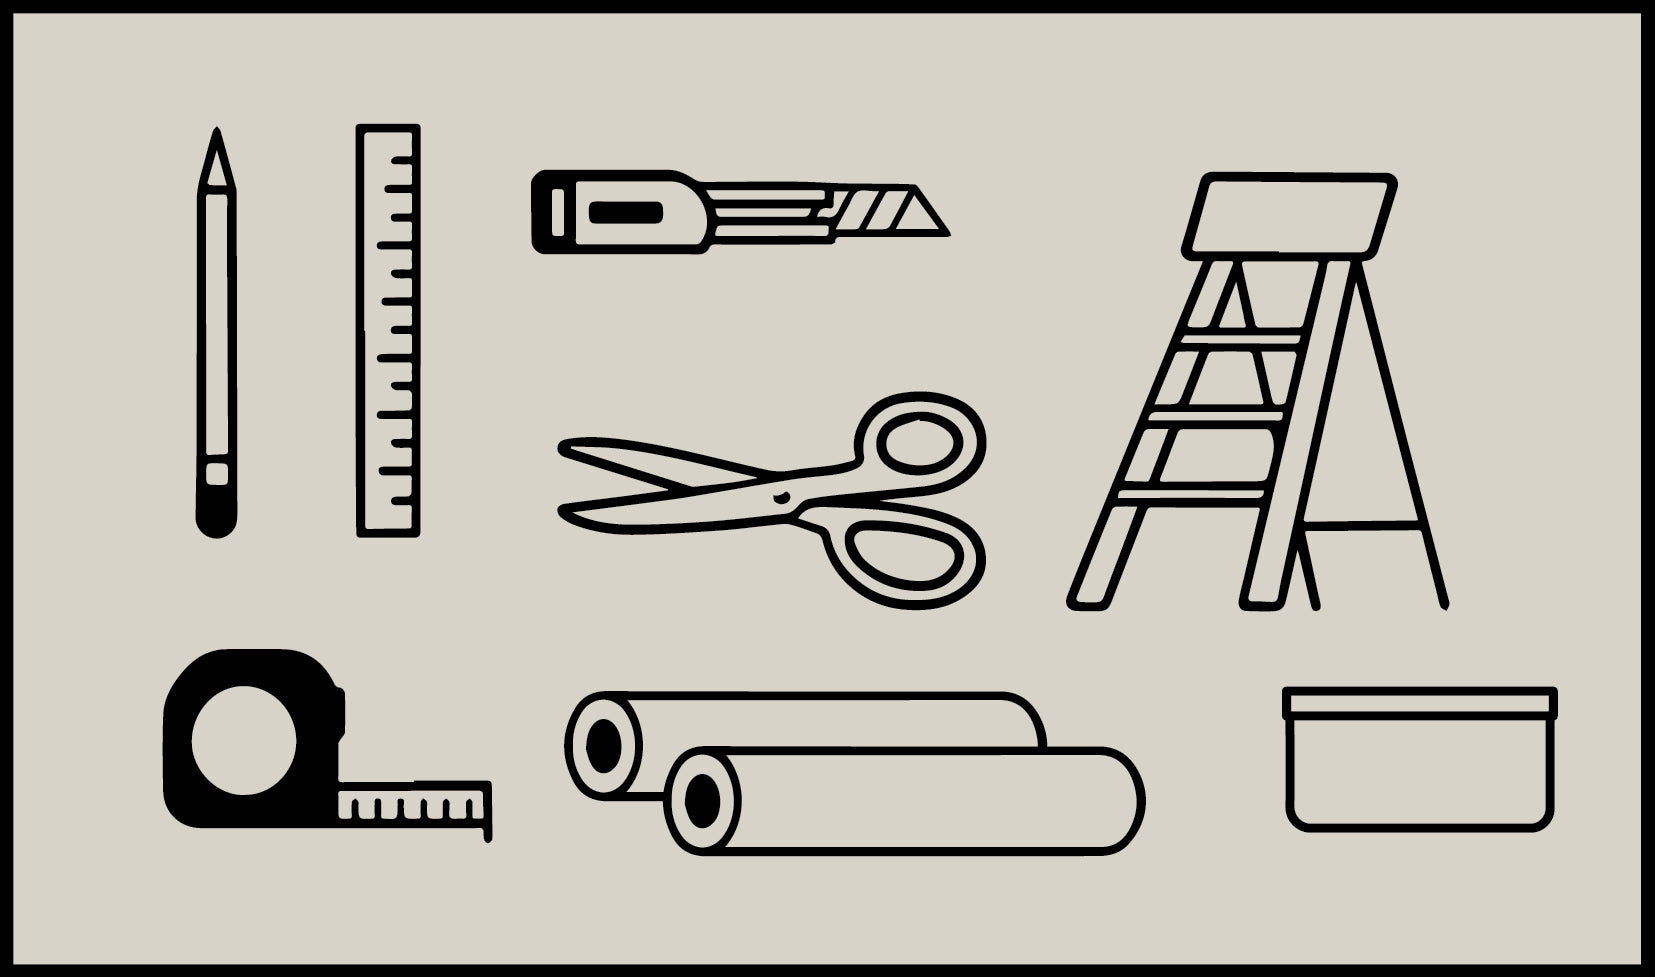
Step 2: Gather Your Tools & Materials
Before you start, assemble these essentials:
- A sharp utility knife (with extra blades)
- Measuring tape and a reliable level
- Straight-edge or ruler, and a pencil
- Scissors
- Smoothing tool (or a squeegee)
- A sturdy ladder (for high walls)
- Your peel-and-stick wallpaper rolls
Having your workspace organized makes for a smoother and more enjoyable DIY wallpaper installation.
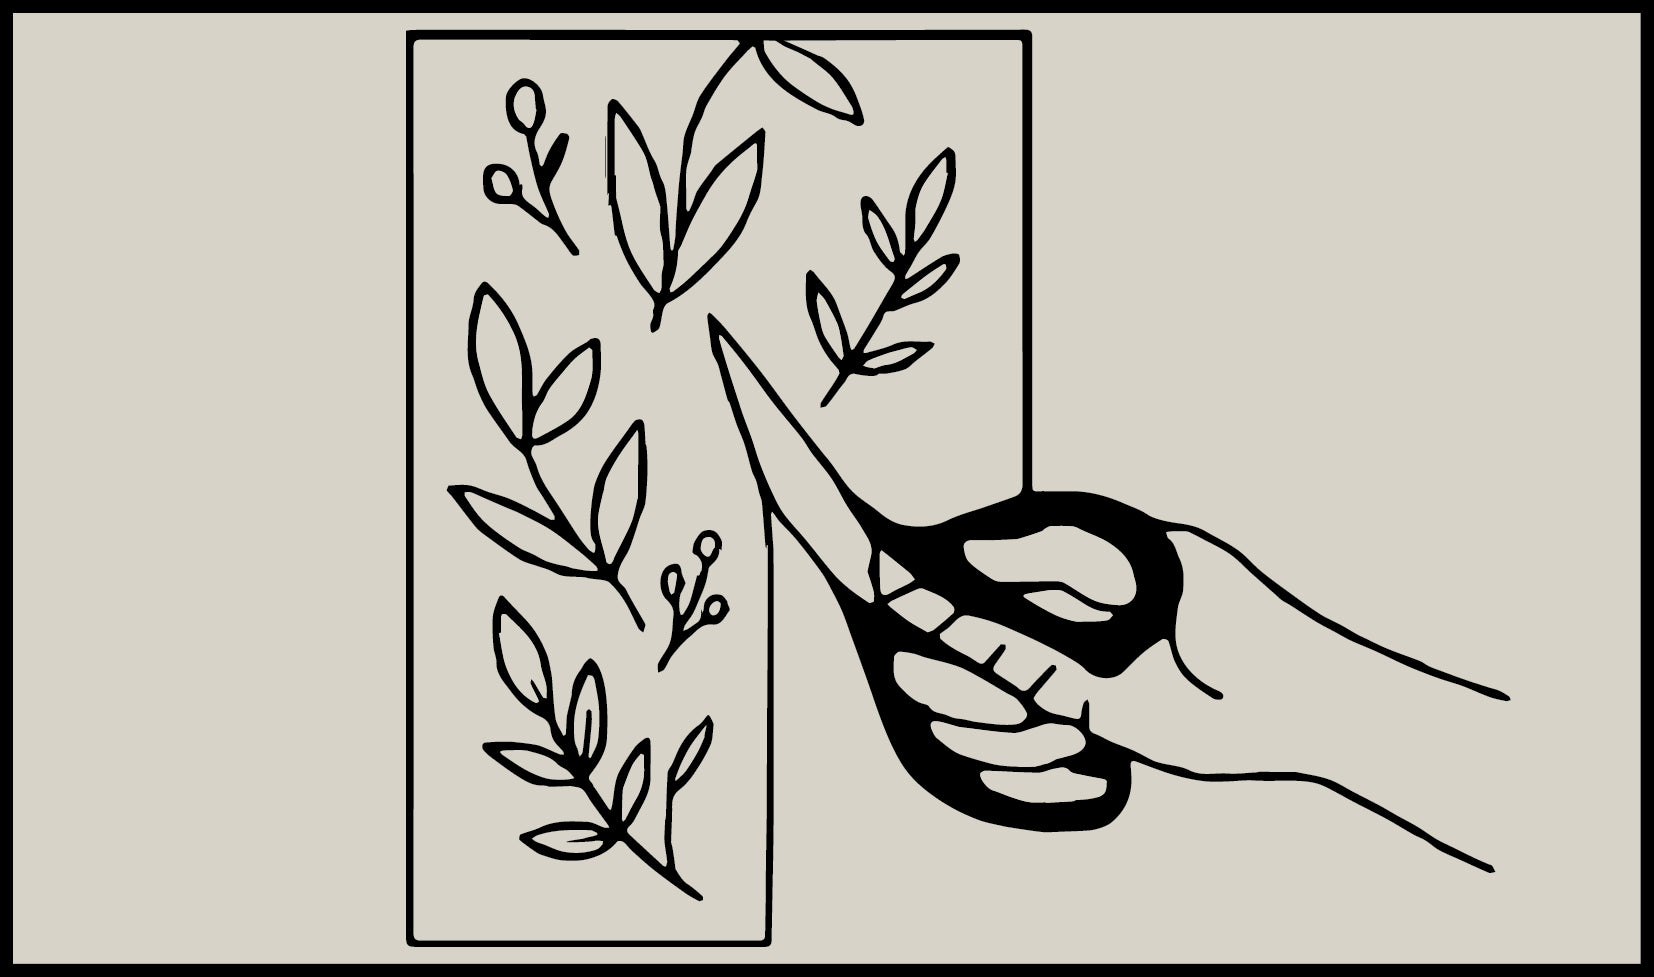
Step 3: Measure, Cut & Align
- Measure the height of the wall from ceiling to baseboard (or top of any wall treatment).
- Cut your first strip, leaving a 3–4-inch allowance at both top and bottom for final trimming.
- Ensure pattern matching across strips: if your design has a repeat, align one roll’s motif perfectly with the next. Precision here equals elegance in the finished result.
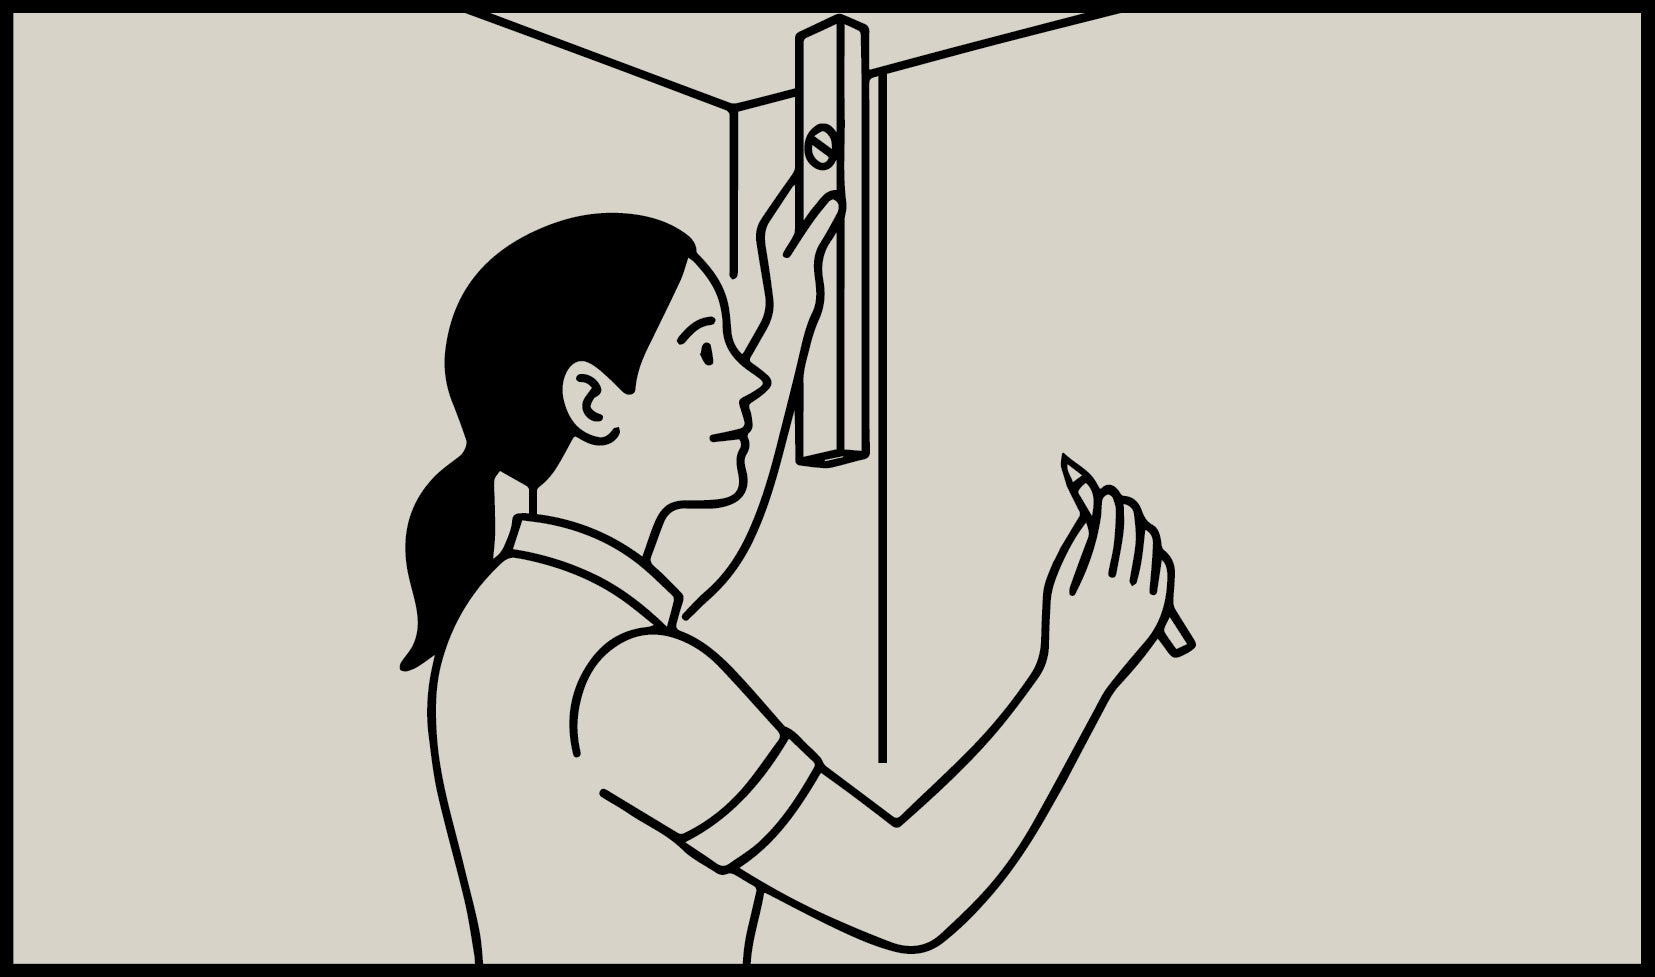
Step 4: Establish Your Starting Line
- Using a level, draw a straight vertical guideline from near the ceiling down to the floor, a few inches away from the corner or edge.
- This will act as your anchor line — the first strip must begin perfectly aligned so the entire installation remains upright across the wall.
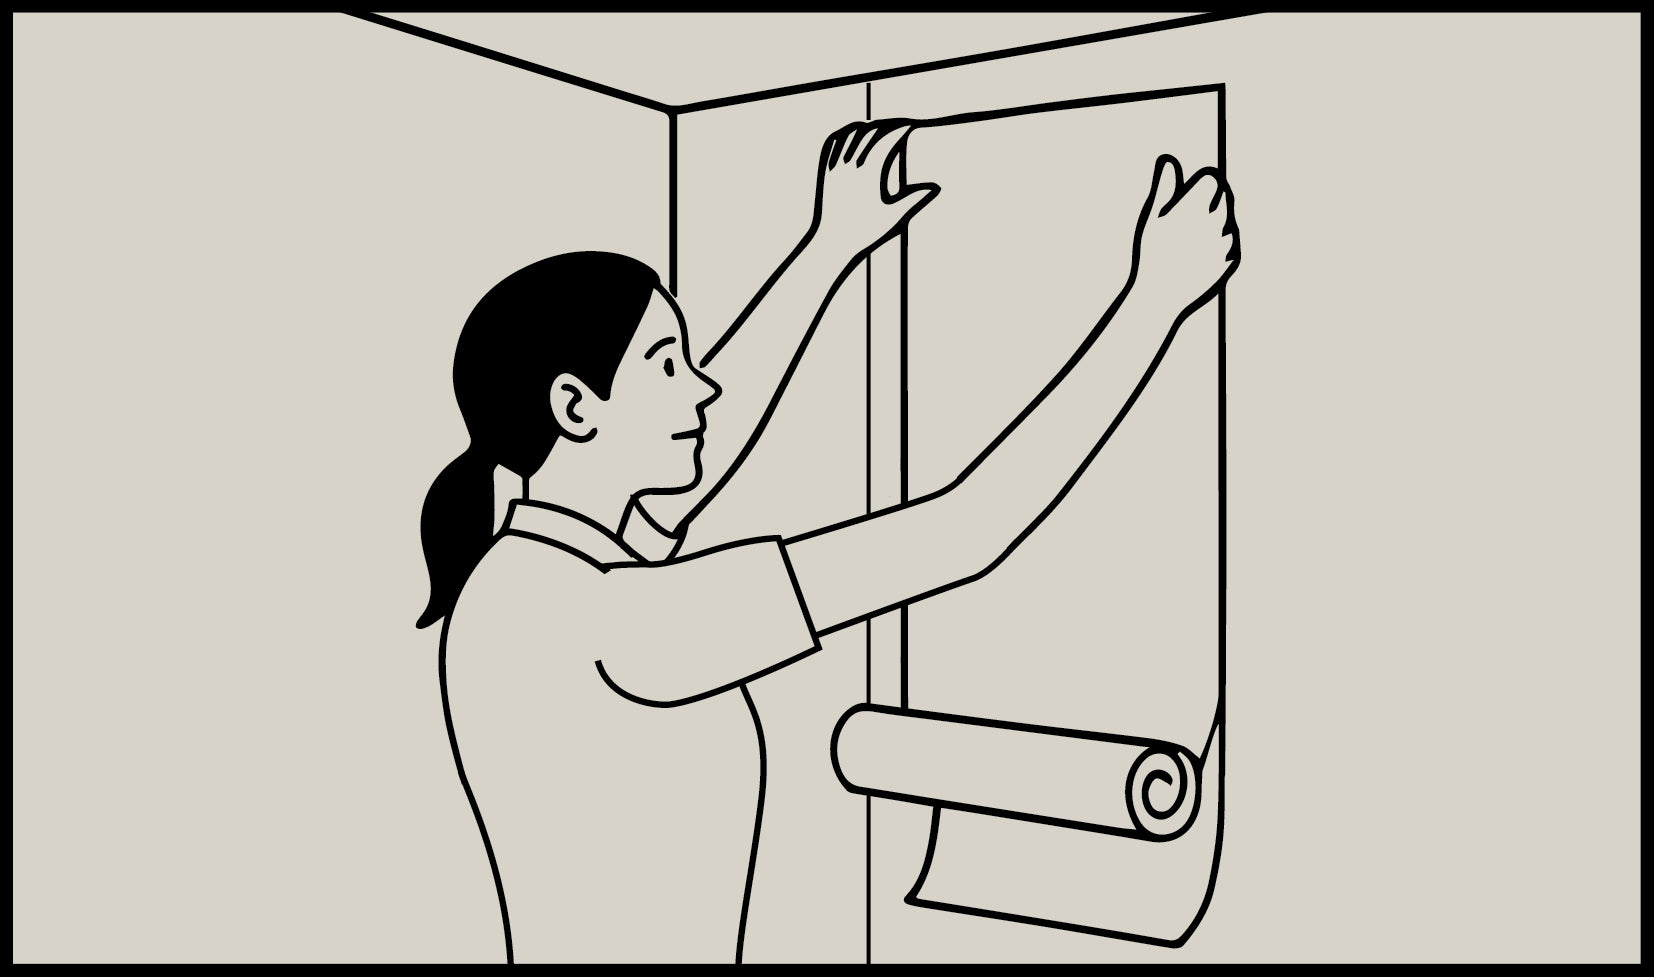
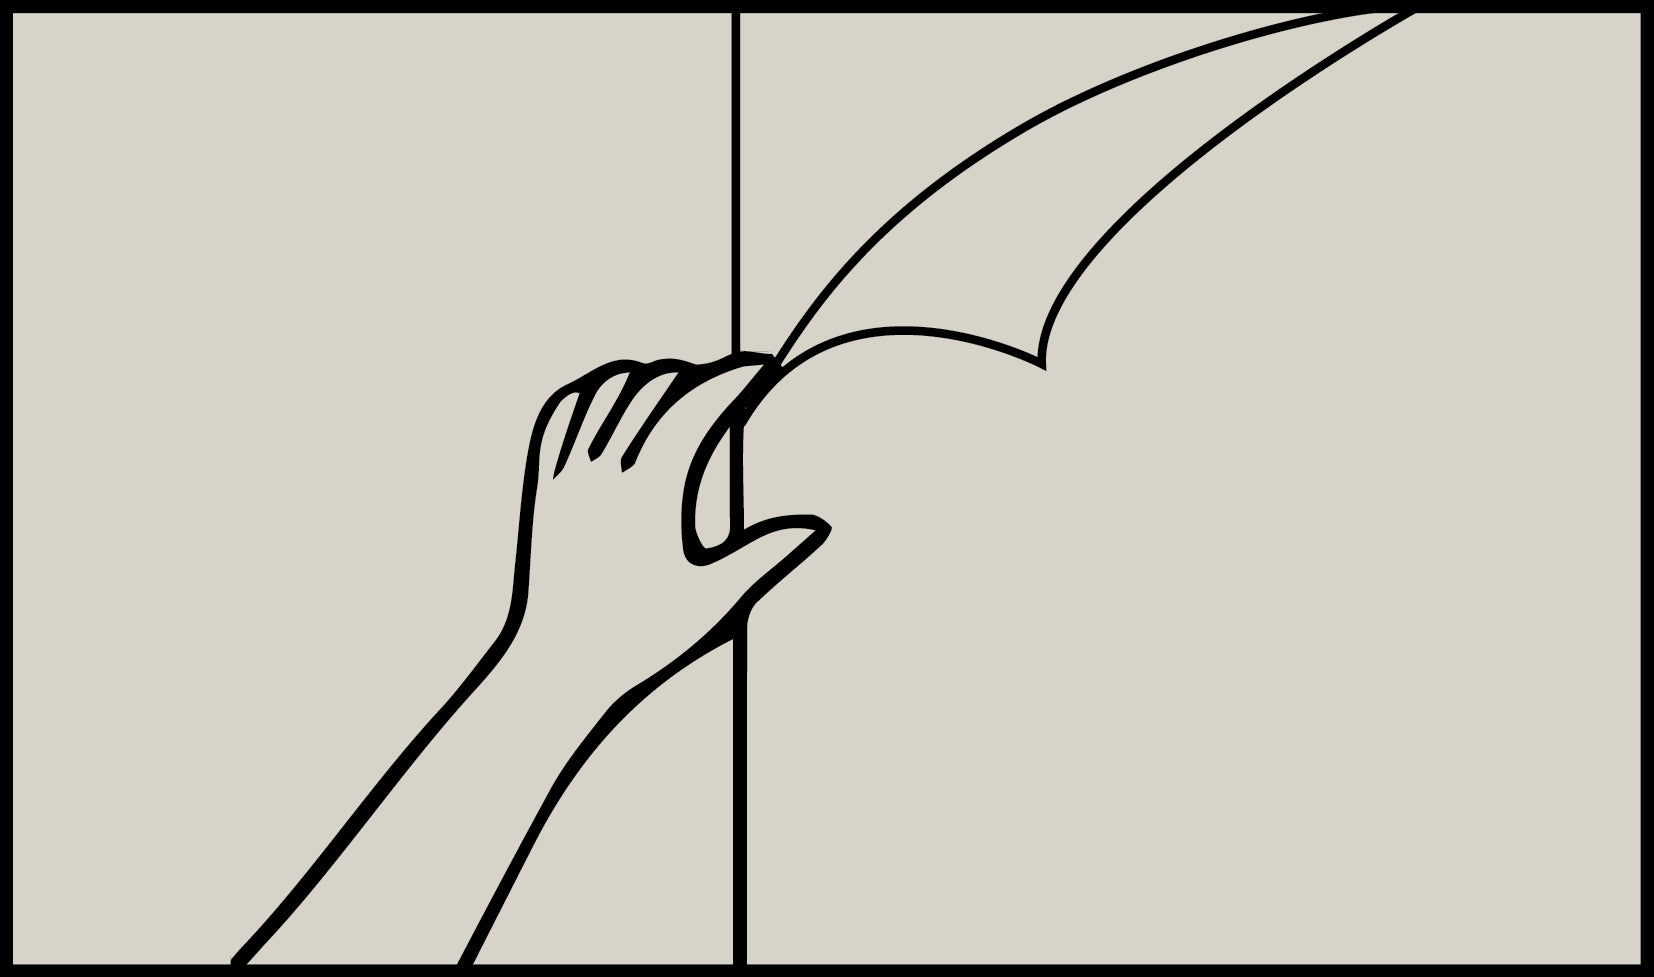
Step 5. First Strip: Positioning & Adhesion
- Peel back the top portion of the backing (approximately 12–24 inches)
- Position the top of your wallpaper strip so it's aligned with the ceiling, slightly overlapping (by about an inch or so). This will be trimmed off later.
- Use the guidelines you drew in Step 4 as your reference.
- At this stage, take your time: align carefully, allow the paper to “hang” gently, then gradually secure it from top to bottom.
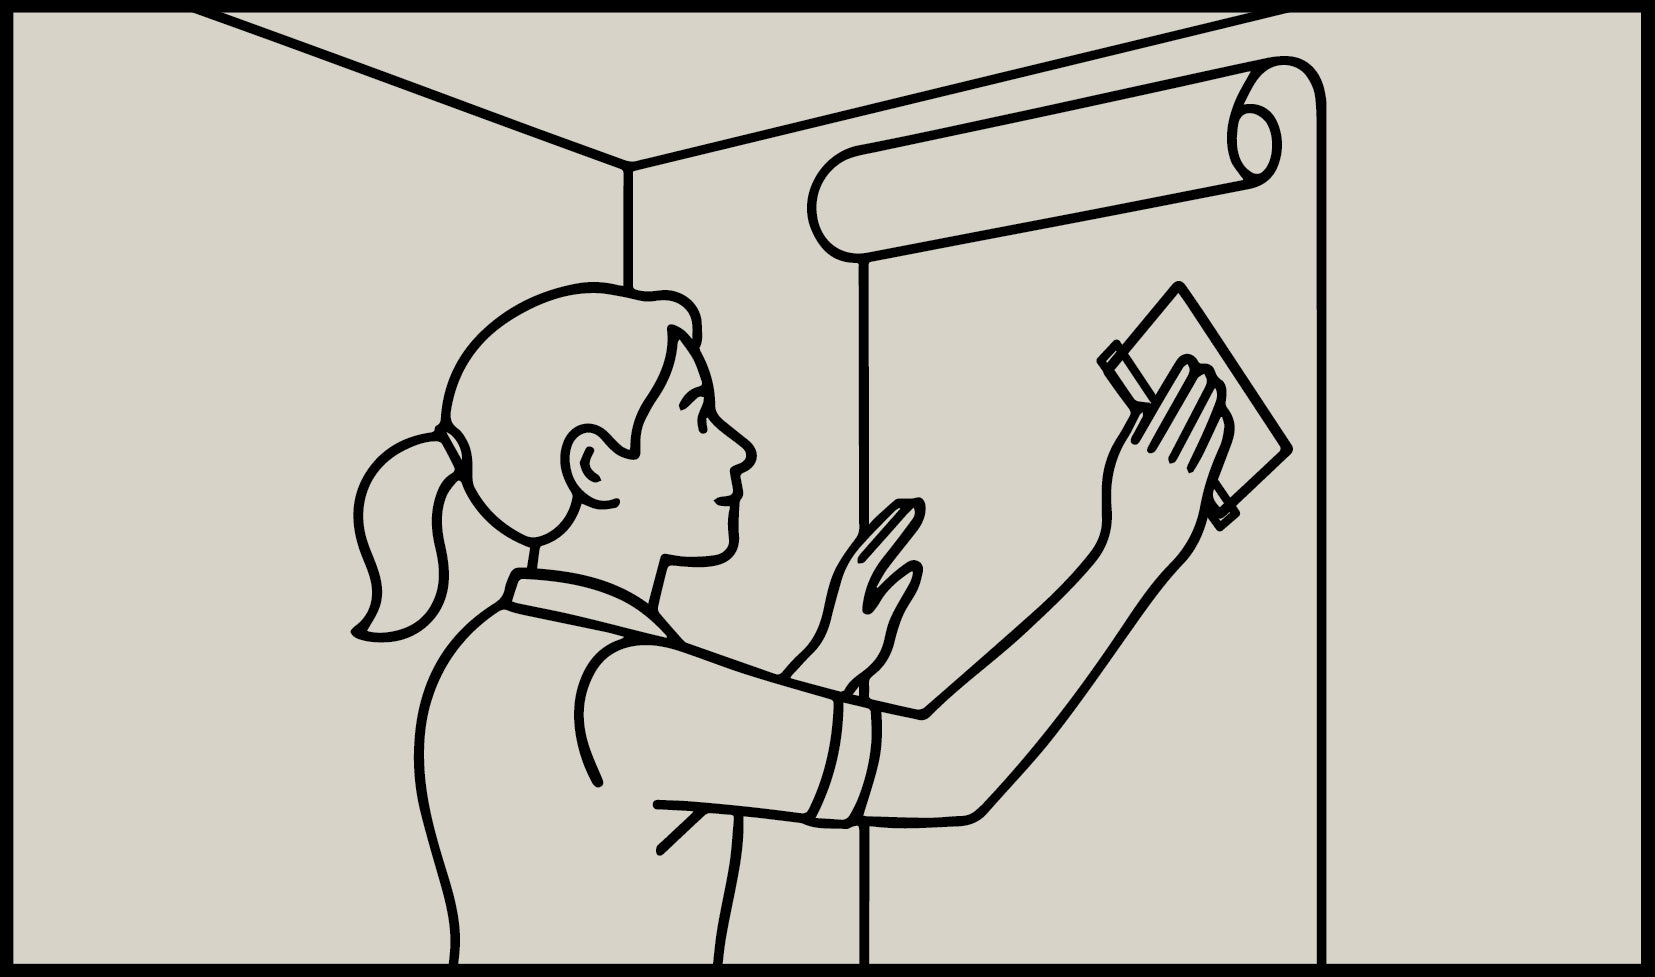
Step 6: Smooth, Adhere & Eliminate Imperfections
- Using your hands and smoothing tool in tandem, press the wallpaper onto the wall, moving downward.
- Remove all air bubbles and creases until the surface is as flat and flawless as a gallery canvas.
- If working with a partner, have one person hold the roll while the other smooths; collaboration ensures precision.
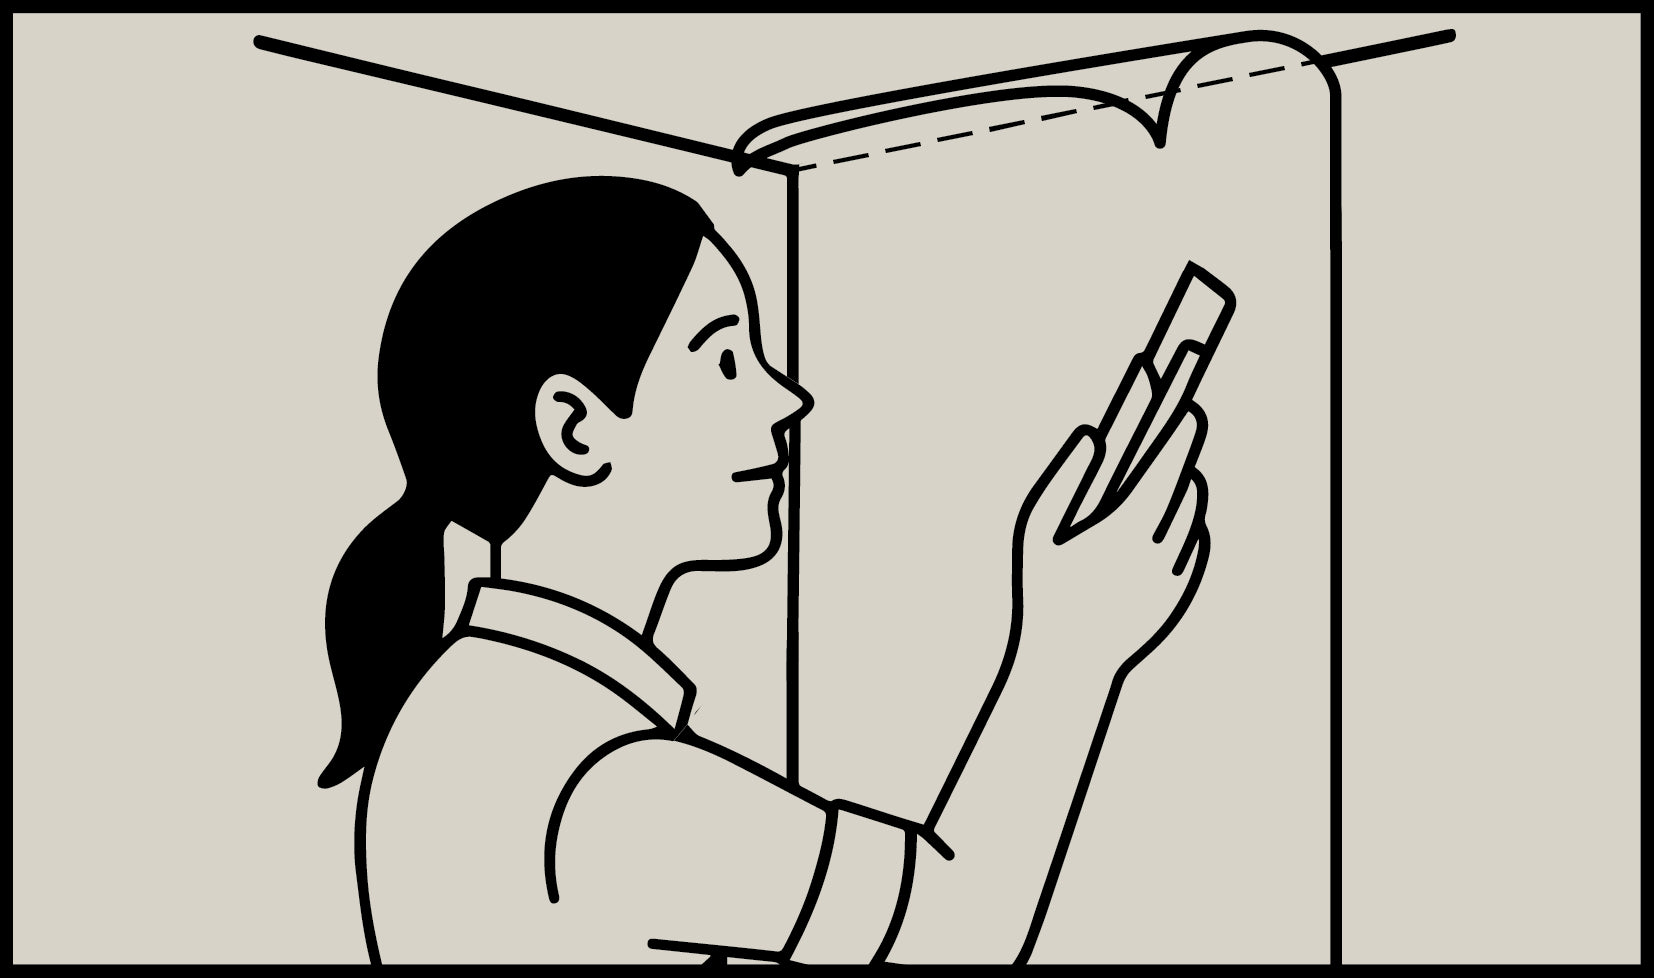
Step 7: Trim the Edges
- Use your straightedge and utility knife to trim excess at the ceiling, corners, and baseboard.
- A sharp, fresh blade ensures precision and a crisp, clean cut.
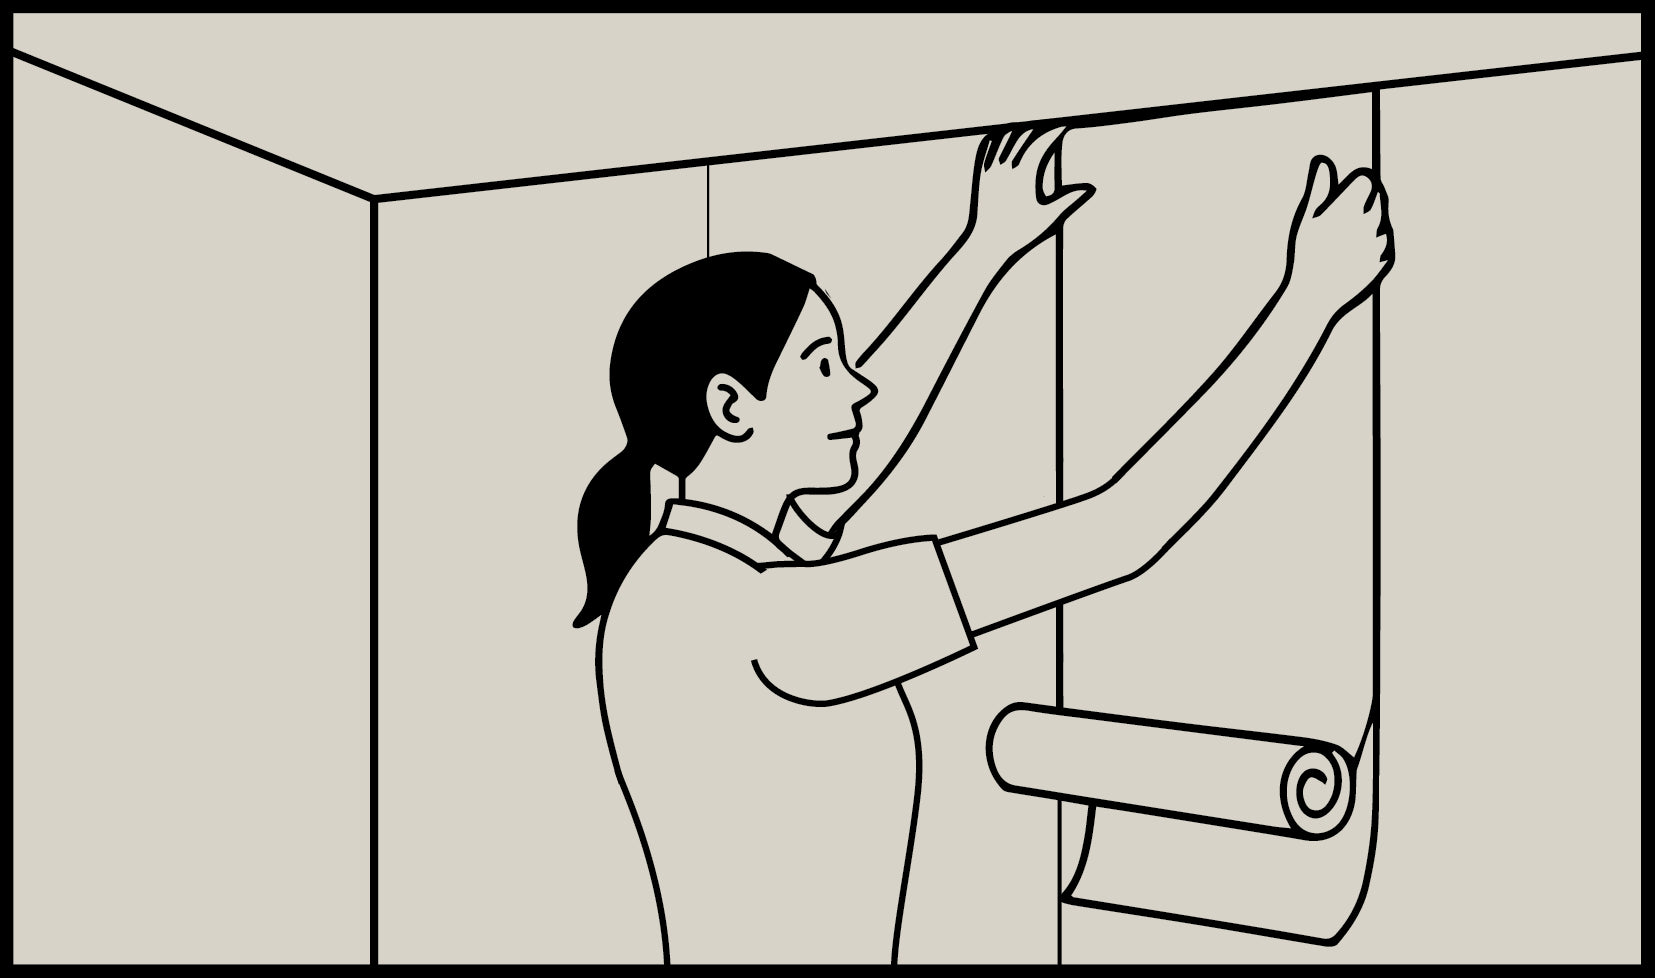
Step 8: Apply the Remaining Strips
- Repeat the process for each new strip: peel the backing, align adjacent to the prior strip (sometimes with a slight overlap of 1/16 inch if required by pattern), smooth carefully, and trim the edges.
- Maintain consistent pressure and attention to pattern alignment to sustain that refined, uninterrupted aesthetic.
Step 9: Repositioning & Removal (If Needed)
- To reposition or remove a section, gently lift from the top corner downward.
- Avoid letting adhesive surfaces fold back onto themselves, as this can compromise the finish.
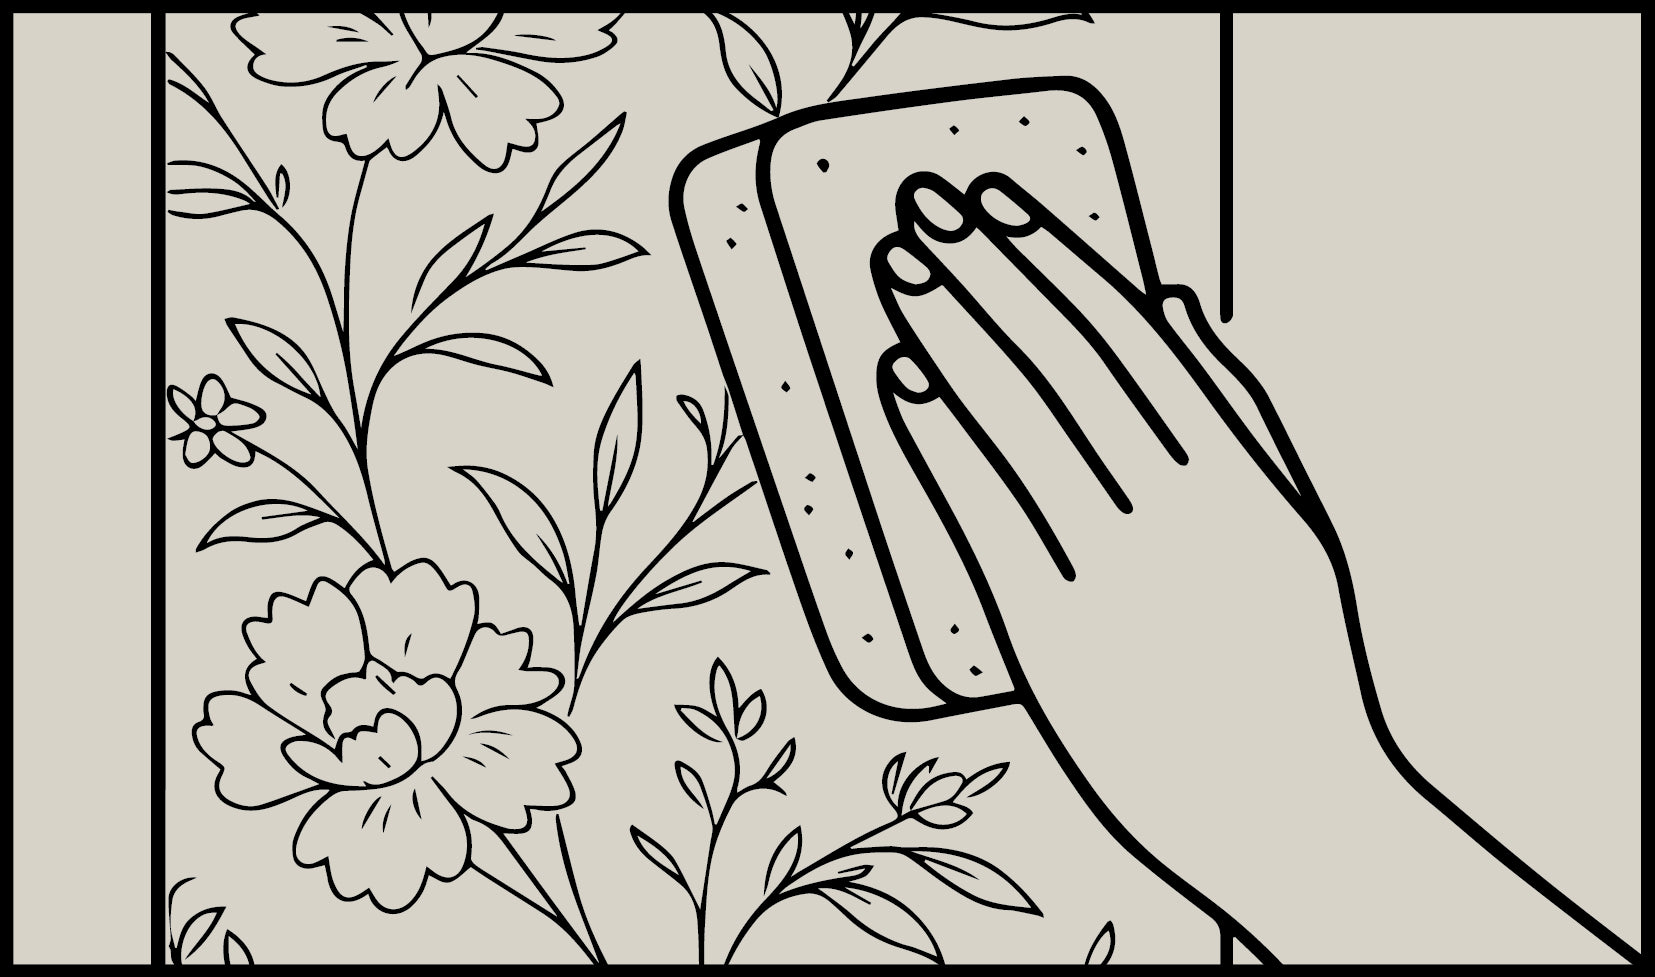
Step 10: Care & Maintenance
- To keep your wallpaper looking its best, wipe gently with a soft cloth or sponge using mild soap and water.
- Never scrub vigorously and avoid harsh chemicals or abrasive materials. Your walls deserve care as refined as their design.
Final Thoughts
With these steps, you’re not simply hanging wallpaper; you’re curating a bespoke interior moment. Each strip, each trim, each smooth pass of your tool becomes part of a larger design story. May your walls reflect elegance, craftsmanship, and thoughtful intention.
How to Install Your Peel-and-Stick Wallpaper
With Poise, Precision & a Little Panache
Installing peel-and-stick wallpaper is both an art and a craft. With focus, care, and the right technique, you can transform your walls and create a designer finish at home. This step-by-step guide will help you master the process with ease and confidence.
Step 1: Prepare the Wall
Begin by giving your wall the respect it deserves: it should be clean, dry, and absolutely smooth — the perfect foundation for your removable wallpaper.
- If your wall has been freshly painted, allow it ample time to cure.
- Let your wallpaper rolls rest in the room for 24 hours so they can acclimate and lie perfectly flat.
This thoughtful preparation ensures a seamless, long-lasting installation.
Step 2: Gather Your Tools & Materials
Before you start, assemble these essentials:
- A sharp utility knife (with extra blades)
- Measuring tape and a reliable level
- Straight-edge or ruler, and a pencil
- Scissors
- Smoothing tool (or a squeegee)
- A sturdy ladder (for high walls)
- Your peel-and-stick wallpaper rolls
Having your workspace organized makes for a smoother and more enjoyable DIY wallpaper installation.
Step 3: Measure, Cut & Align
- Measure the height of the wall from ceiling to baseboard (or top of any wall treatment).
- Cut your first strip, leaving a 3–4-inch allowance at both top and bottom for final trimming.
- Ensure pattern matching across strips: if your design has a repeat, align one roll’s motif perfectly with the next. Precision here equals elegance in the finished result.
Step 4: Establish Your Starting Line
- Using a level, draw a straight vertical guideline from near the ceiling down to the floor, a few inches away from the corner or edge.
- This will act as your anchor line — the first strip must begin perfectly aligned so the entire installation remains upright across the wall.
Step 5. First Strip: Positioning & Adhesion
- Peel back the top portion of the backing (approximately 12–24 inches)
- Position the top of your wallpaper strip so it's aligned with the ceiling, slightly overlapping (by about an inch or so). This will be trimmed off later.
- Use the guidelines you drew in Step 4 as your reference.
- At this stage, take your time: align carefully, allow the paper to “hang” gently, then gradually secure it from top to bottom.
Step 6: Smooth, Adhere & Eliminate Imperfections
- Using your hands and smoothing tool in tandem, press the wallpaper onto the wall, moving downward.
- Remove all air bubbles and creases until the surface is as flat and flawless as a gallery canvas.
- If working with a partner, have one person hold the roll while the other smooths; collaboration ensures precision.
Step 7: Trim the Edges
- Use your straightedge and utility knife to trim excess at the ceiling, corners, and baseboard.
- A sharp, fresh blade ensures precision and a crisp, clean cut.
Step 8: Apply the Remaining Strips
- Repeat the process for each new strip: peel the backing, align adjacent to the prior strip (sometimes with a slight overlap of 1/16 inch if required by pattern), smooth carefully, and trim the edges.
- Maintain consistent pressure and attention to pattern alignment to sustain that refined, uninterrupted aesthetic.
Step 9: Repositioning & Removal (If Needed)
- To reposition or remove a section, gently lift from the top corner downward.
- Avoid letting adhesive surfaces fold back onto themselves, as this can compromise the finish.
Step 10: Care & Maintenance
- To keep your wallpaper looking its best, wipe gently with a soft cloth or sponge using mild soap and water.
- Never scrub vigorously and avoid harsh chemicals or abrasive materials. Your walls deserve care as refined as their design.
Final Thoughts
With these steps, you’re not simply hanging wallpaper; you’re curating a bespoke interior moment. Each strip, each trim, each smooth pass of your tool becomes part of a larger design story. May your walls reflect elegance, craftsmanship, and thoughtful intention.